♠️ Poker Timer ← Back to Home
Device Instructions

Getting Started with Your Poker Timer

Every unit is identical hardware — any device can run as a Standalone timer, a Master (controls the tournament), or a Slave (syncs to the master on another table). Here's what's on the device, how to power it on, and how to switch between modes.

Meet Your Device

The Poker Timer is a 2.8″ touchscreen in a 3D-printed case. Four things are on the outside — everything else happens on the screen.
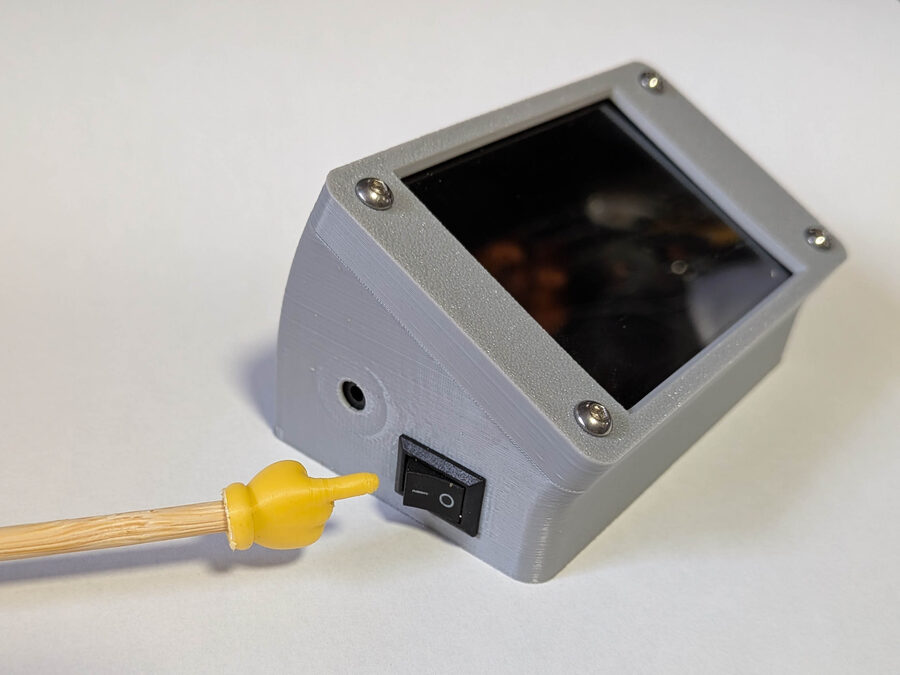
Power switch

Power Switch

On the side of the case. Flip it to turn the device on and off.
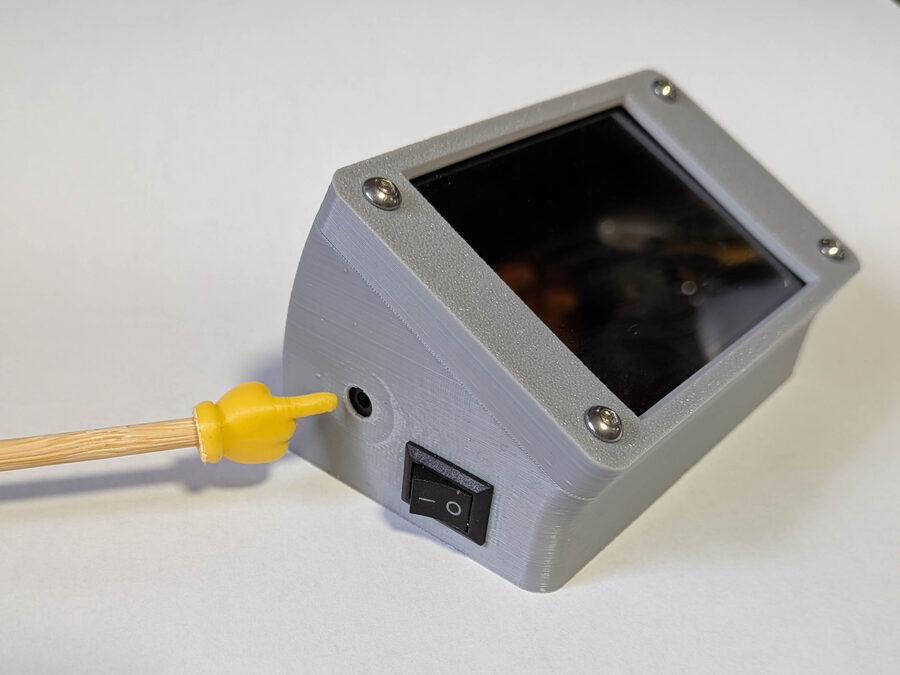
Speaker opening for the piezo buzzer

Speaker Opening

Hole in the case that lets the built-in piezo buzzer sound through. The buzzer gives the 5-second countdown alert before each blind increase.
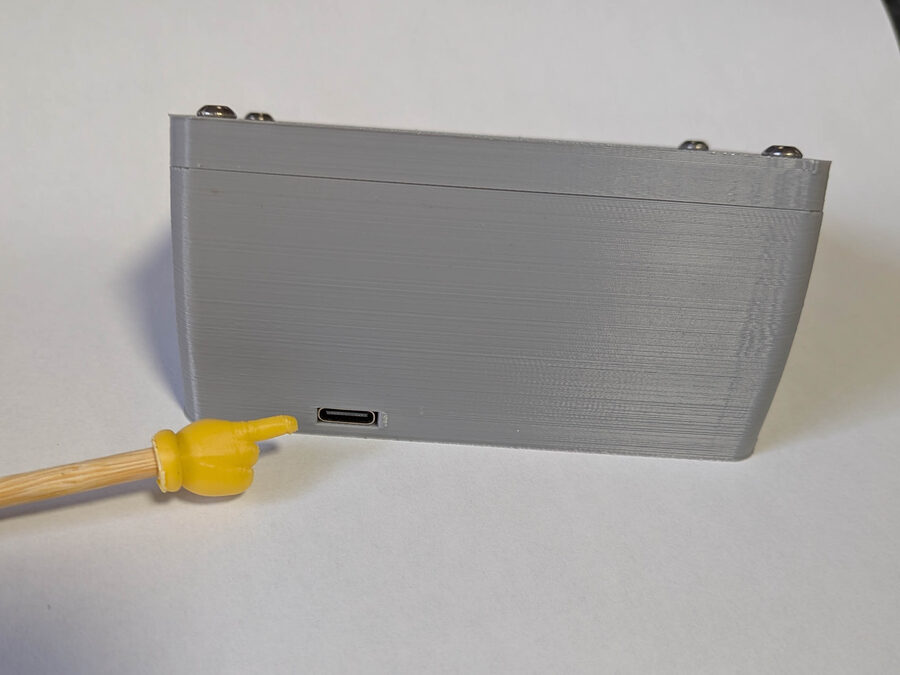
USB-C charge port

USB-C Charge Port

On the back of the case. Charge the internal battery with any USB-C charger or battery bank.
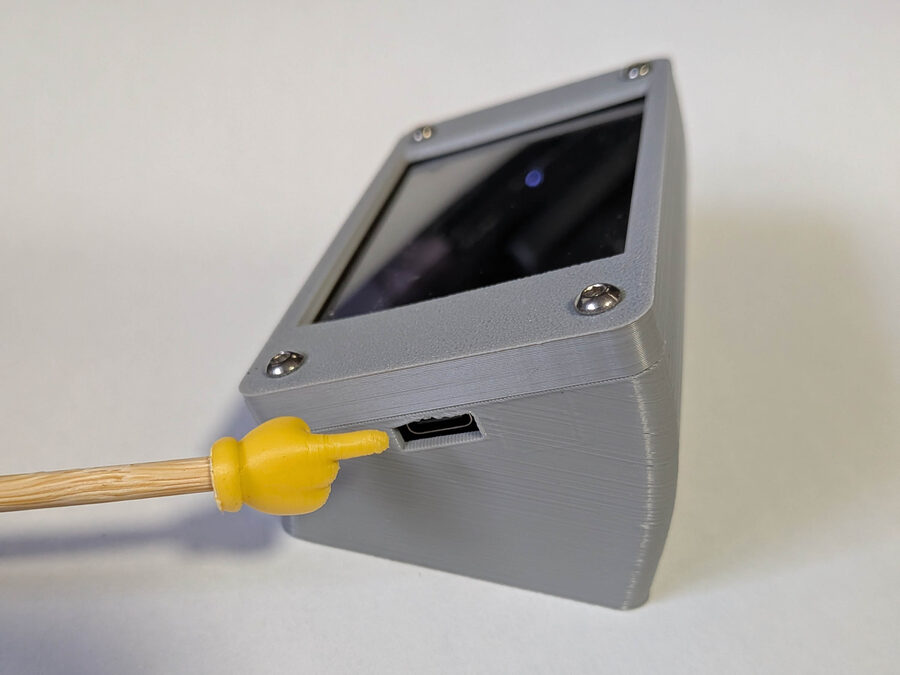
USB-C firmware port

USB-C Firmware Port

Recessed port on the side panel. Used for firmware updates — a web flasher is available to do the work, no software to install.
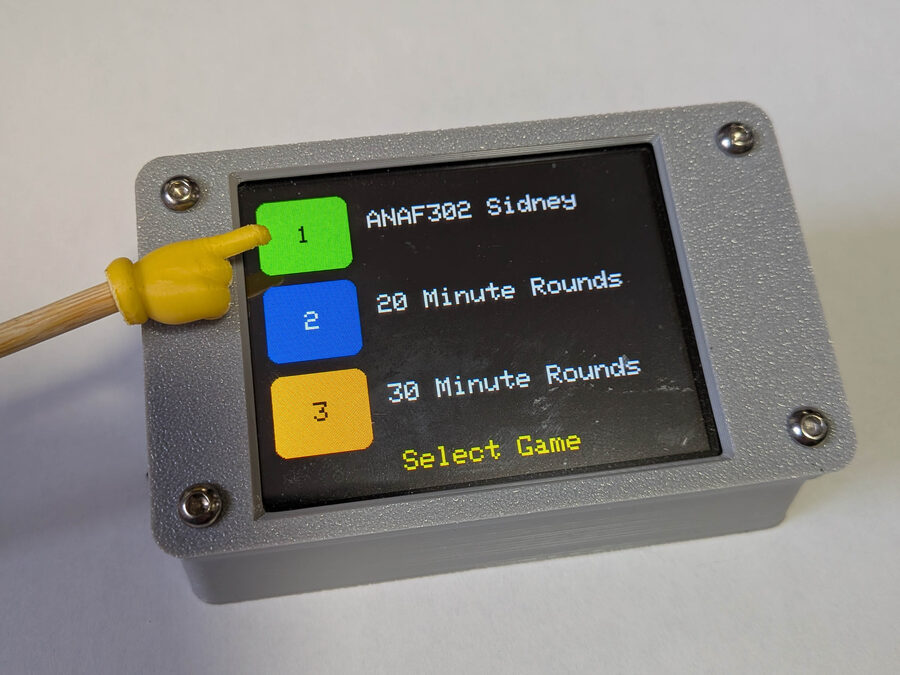
Power On & Game Selection

Game selection screen
STEP 1

Choose Your Game

When the device powers on, the Select Game screen appears with the saved game options:

  • Standalone and Master modes are listed here for selection.
  • Units already set as Slaves skip this screen and go straight to the game screen.
  • Tap a game to load it. The countdown is ready to start.

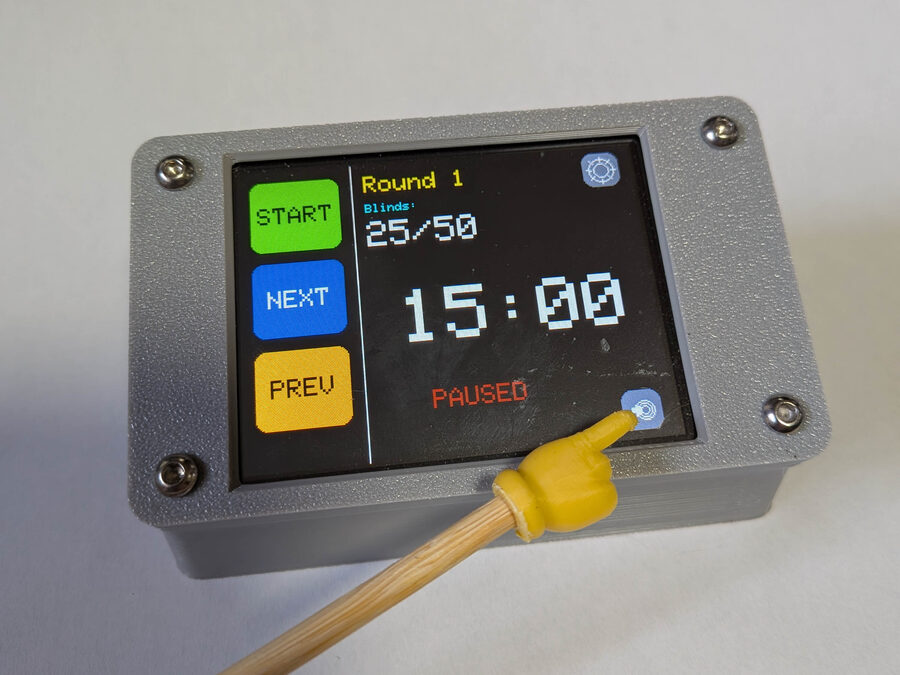
The Main Game Screen

Mute button on game screen
STEP 2

Mute / Unmute

The speaker icon in the bottom corner toggles the audio alerts. Tap it to silence the countdown beeps (handy mid-hand) and tap again to turn them back on.

Config button on game screen
STEP 3

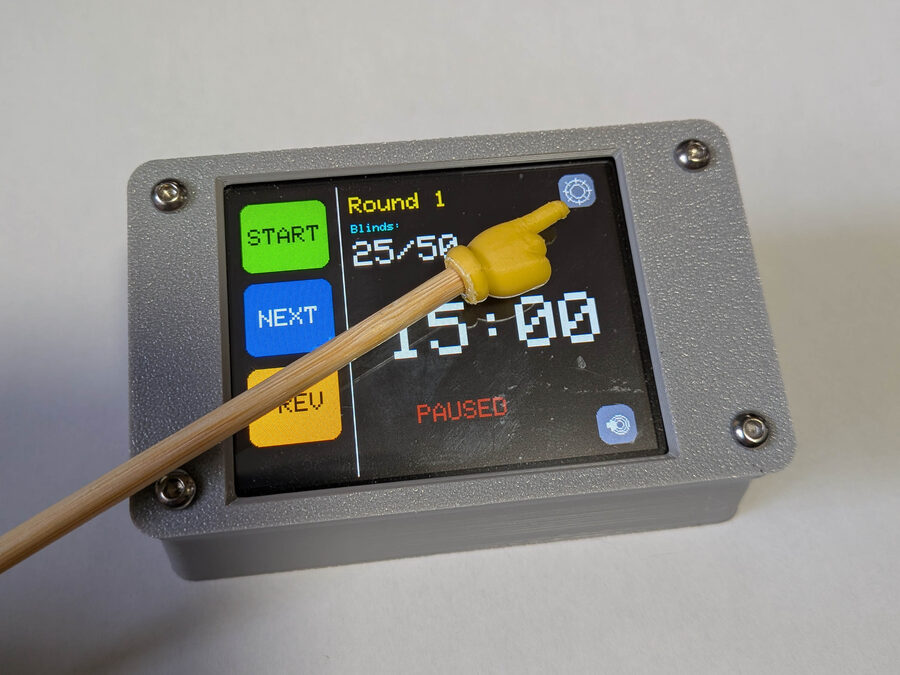
Open Configuration

The gear icon in the top corner opens the Configuration screen. From there you can switch modes or enter access-point mode to change the blind schedule.

Configuration Mode

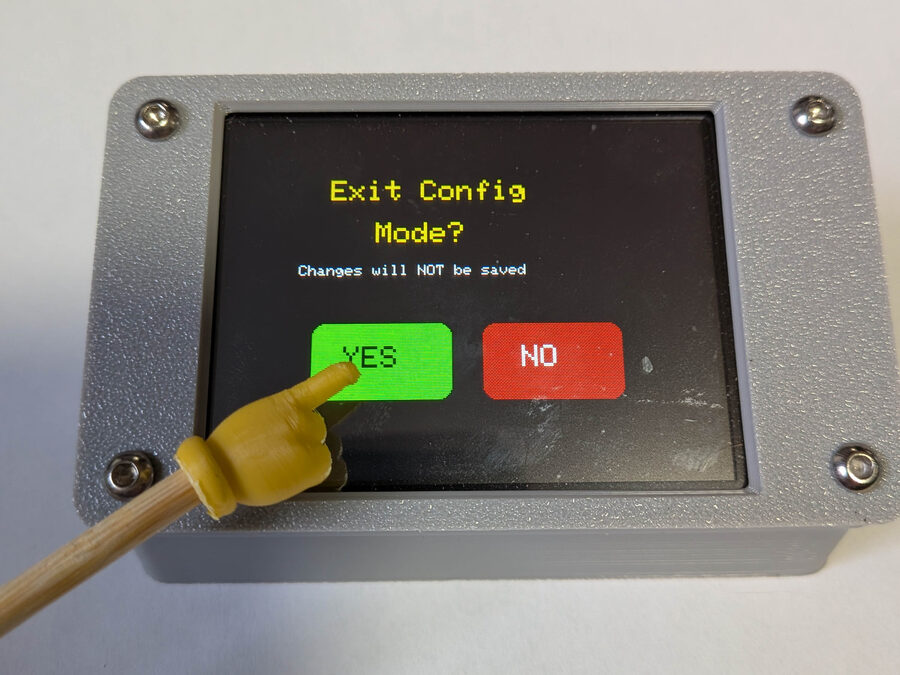
Tap the gear icon on the main game screen. The timer will ask if you want to enter config mode. Press YES to continue or NO to go back to the game.

Cancel config prompt
STEP 4

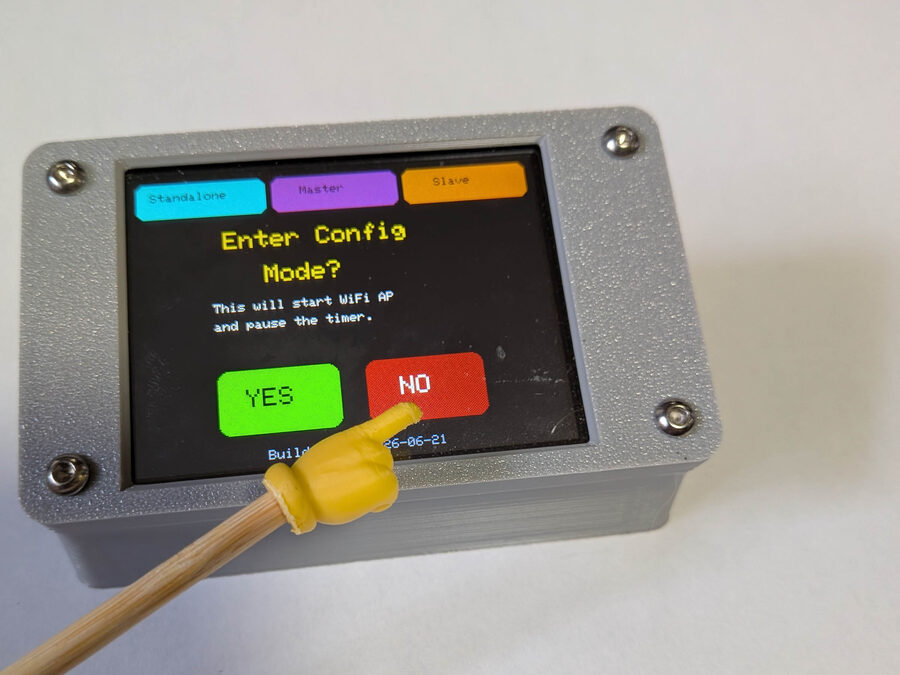
Enter Config Mode?

Tap NO to cancel and return to the main game screen. Nothing changes until you confirm.

Access point confirmation
STEP 5

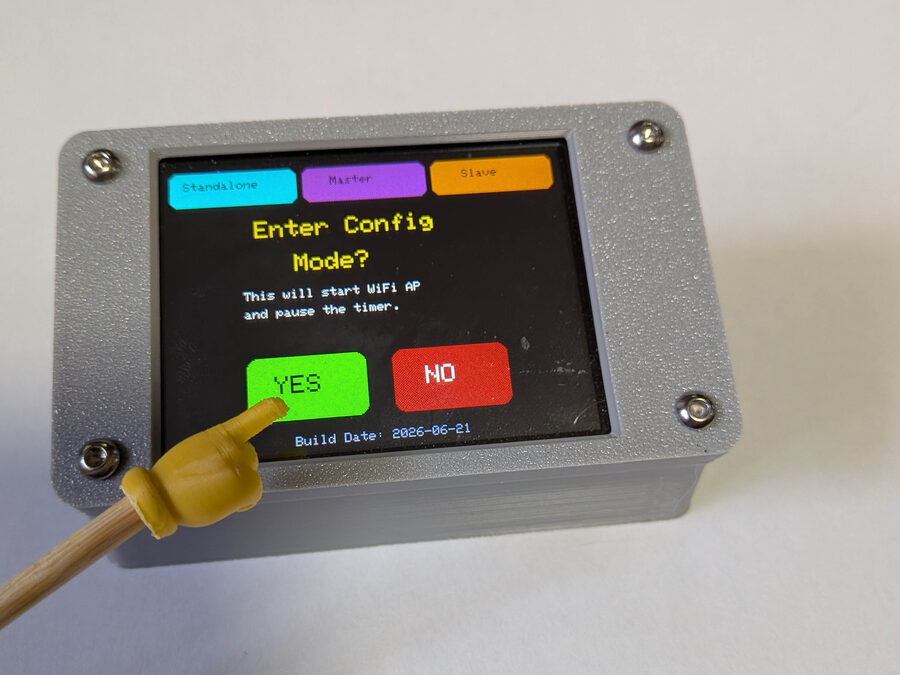
Confirm Access Point

Tap YES to enter configuration mode. The device starts its own Wi-Fi network so you can connect a phone, tablet, or laptop to set up the blind schedule.

Choosing a Mode

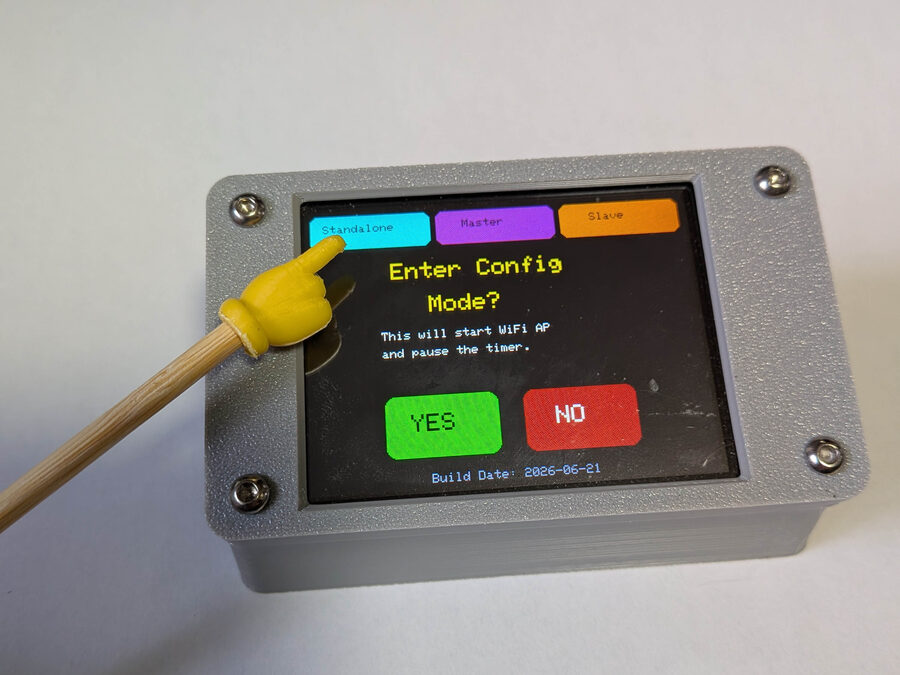
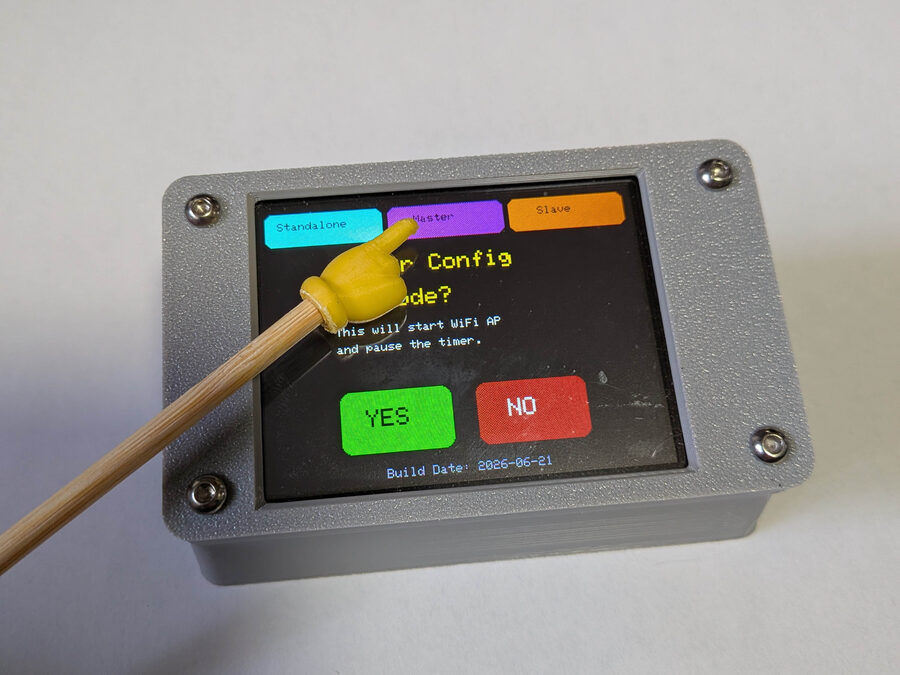
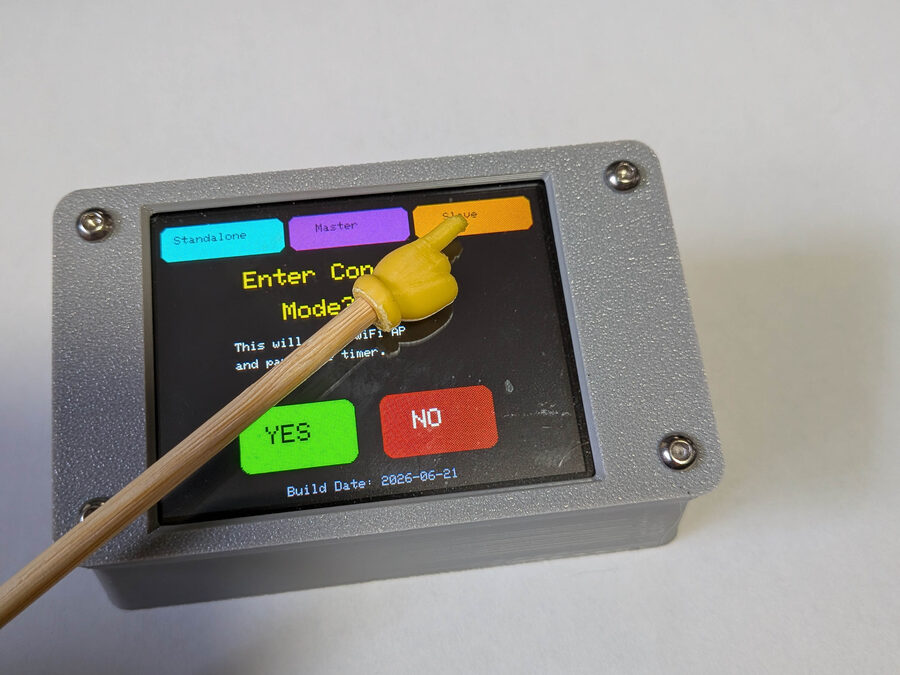
While in config mode, tap one of the three mode tabs. The device reboots into the selected mode.

Standalone mode
STEP 6

Standalone

Runs the timer on its own, no syncing. Perfect for a single table. Tap Standalone and the device reboots into standalone mode.

Master mode
STEP 7

Master

The master controls the whole tournament — START, PAUSE, and skipping blinds. Other tables' units sync to it. Tap Master and the device reboots into master mode.

Slave mode
STEP 8

Slave

Displays the same timer as the master and beeps in sync. Tap Slave and the device reboots into slave mode. Only one master per tournament — every other unit should be a slave.

Access Point Mode (Wi-Fi Setup)

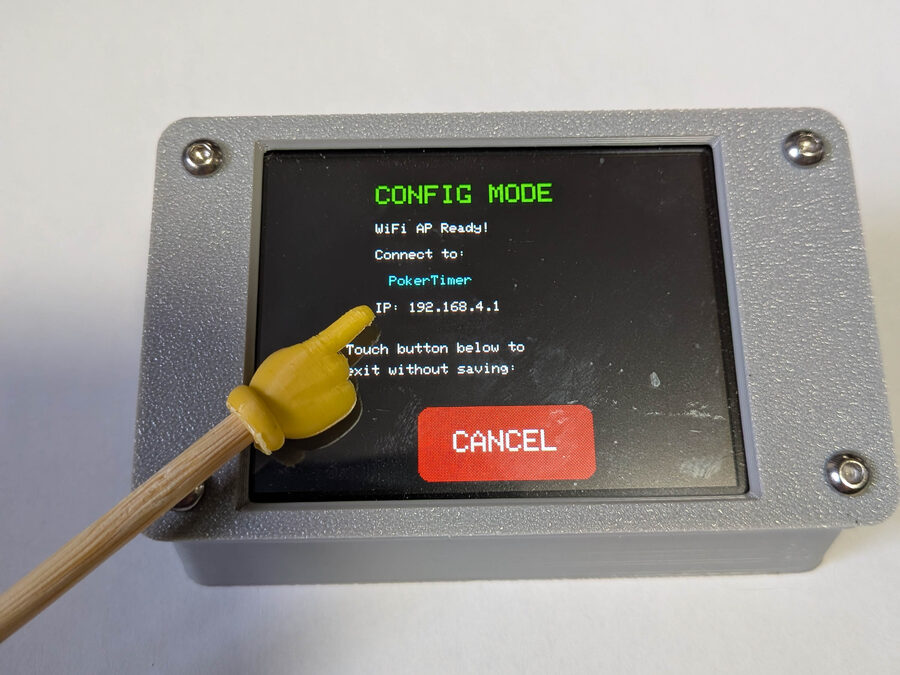
When you confirmed access-point mode, the device creates its own Wi-Fi network. This is where you connect to configure the blind schedule.

Access point SSID and address
STEP 9

Connect to the Device

The screen shows CONFIG MODE — WiFi AP Ready!

  • Wi-Fi SSID: PokerTimer
  • On your phone or laptop, join that network.
  • Open a browser and go to http://192.168.4.1
  • The configuration page opens — see the Blind Configuration Instructions for setting up rounds.
Cancel access point mode
STEP 10

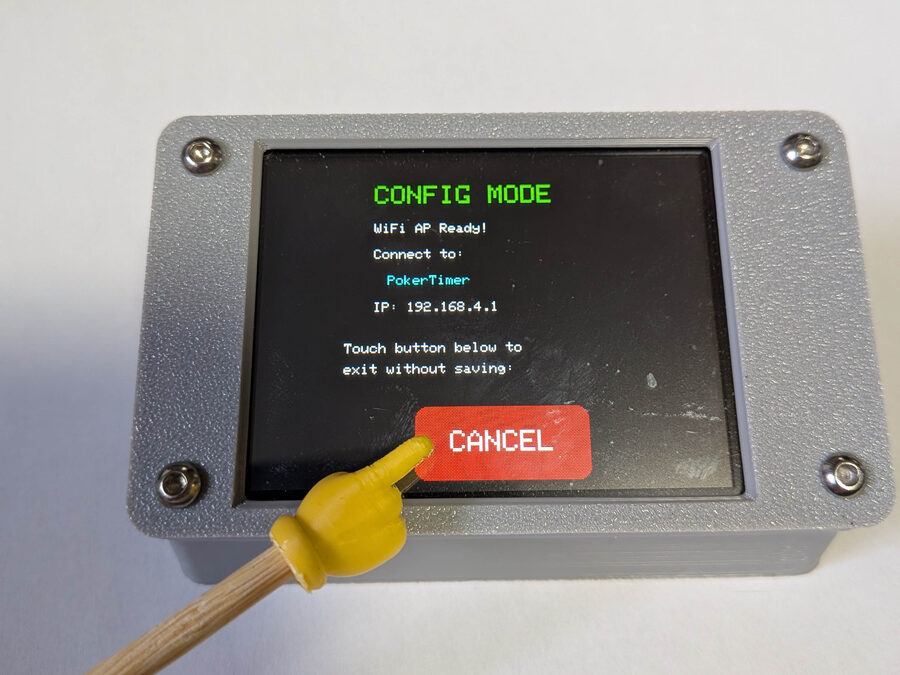
Cancel Access Point Mode

Tap CANCEL on the device to leave access-point mode. The device reboots with no configuration changes — anything you didn't save is discarded.

Confirm cancel access point
STEP 11

Confirm Cancelling

Tap YES to confirm you want to exit config mode, or NO to stay in access-point mode.

Slave Mode

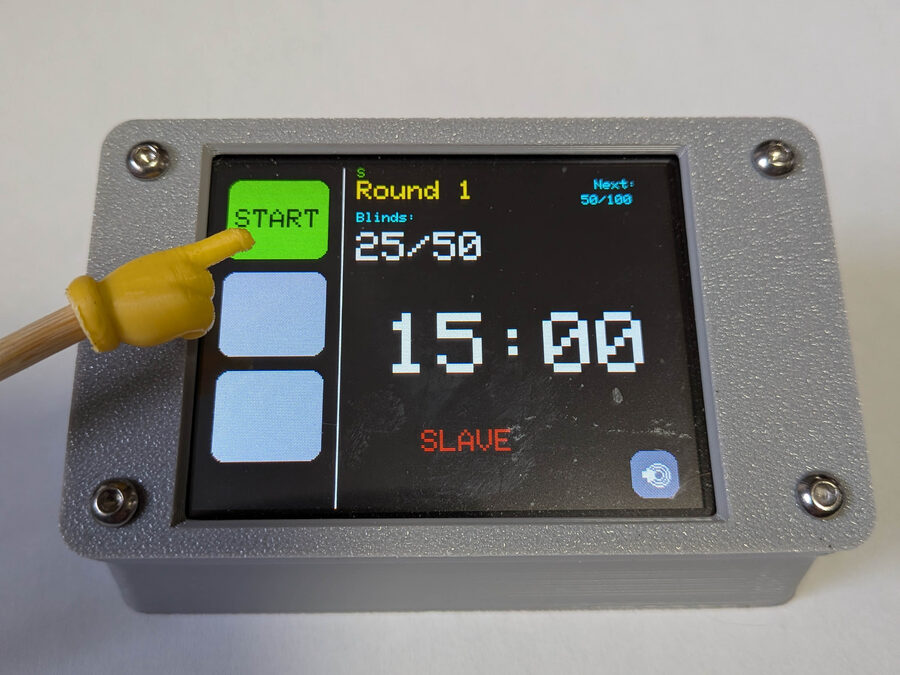
A slave device displays the master's timer. The master controls the game — a slave's START button doesn't pause or start anything.

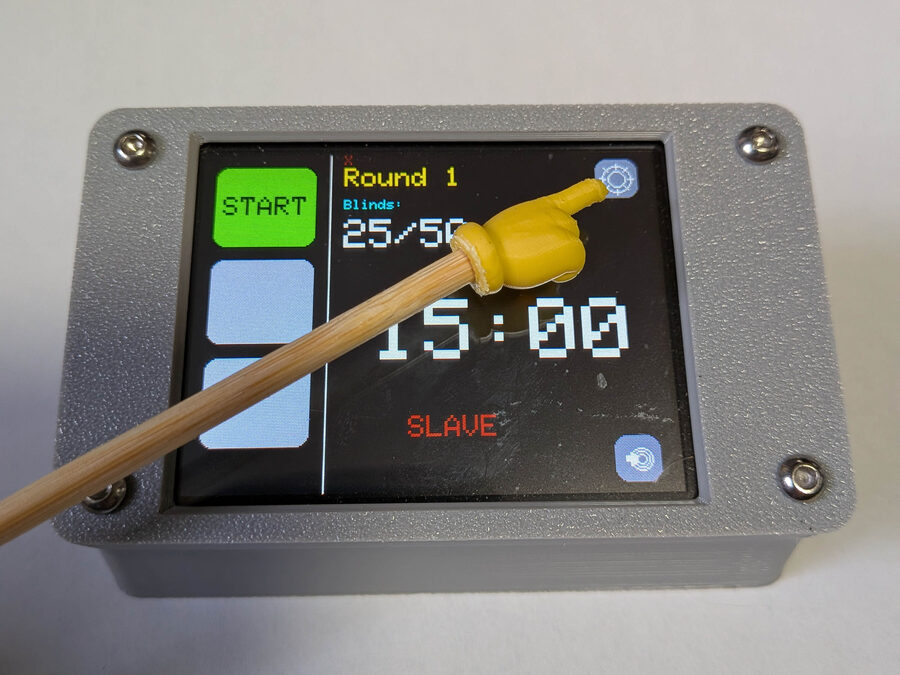
Slave screen with config button
STEP 12

Open Configuration

On the slave's game screen, press the button to reveal the configuration icon (top corner). This button does not pause or start the game — that's controlled by the master.

Slave config screen
STEP 13

Slave Configuration

The slave's configuration screen is the same as the master's (same options as STEP 4–8). From here you can change the slave's mode or enter access-point mode.

That's It — Deal the Cards

Power on, pick your game, and tap START. The timer levels the blinds automatically and sounds the countdown before each increase. For multi-table games, set one unit as master and the rest as slaves.

Need a Hand with the WiFi?

Put the timer in access-point mode and connect to it to set up your blind schedule.

⚙️ Blind Configuration

← Back to Home